


Description
About This Model
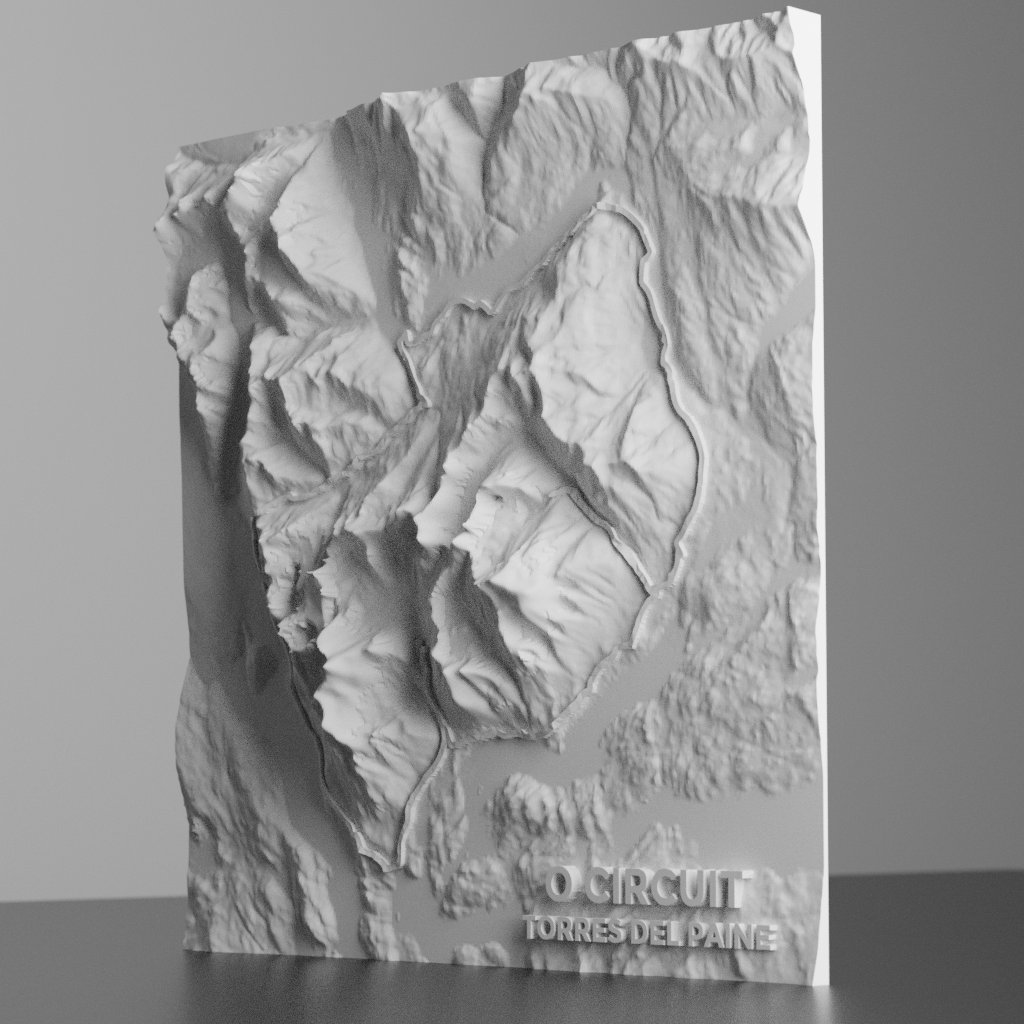
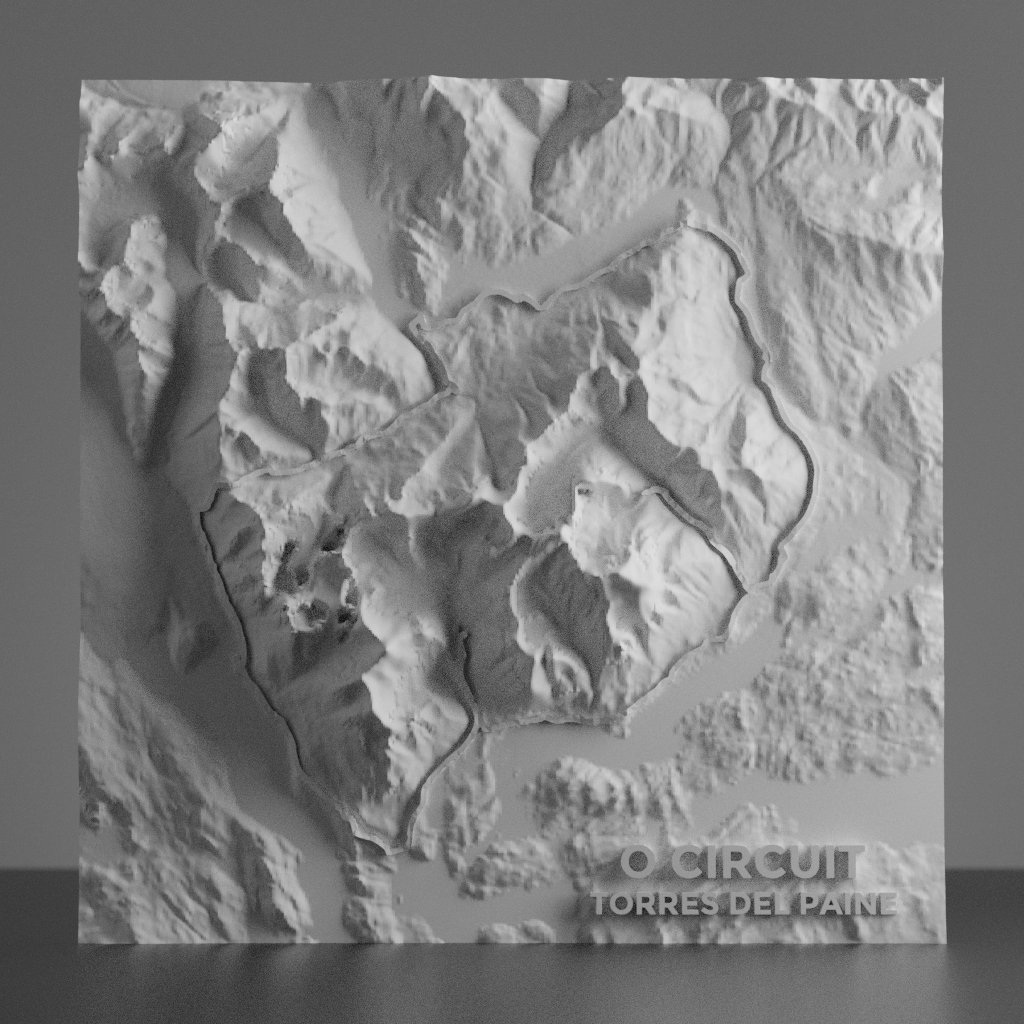
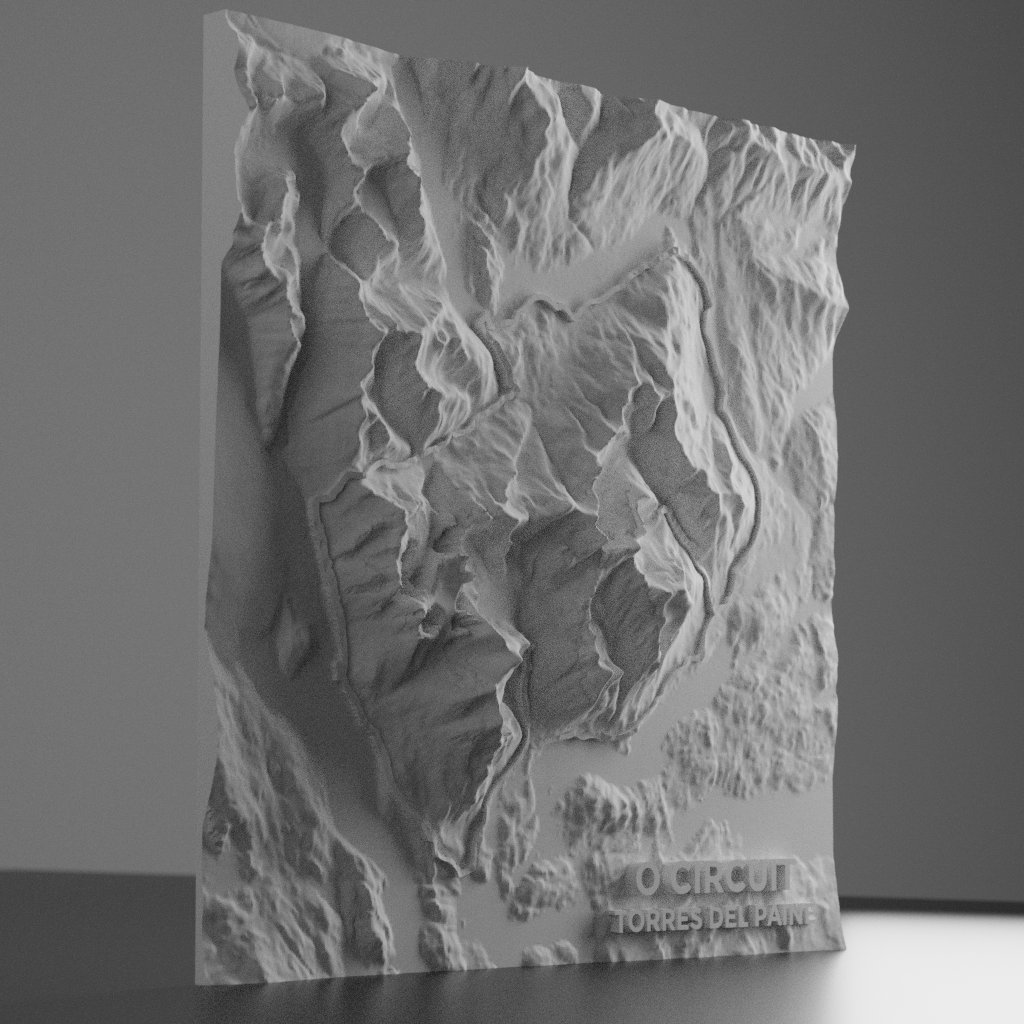
Experience the raw grandeur of Patagonia’s most iconic trek in three dimensions. This STL file features the full O Circuit loop in Torres del Paine National Park, Chile—capturing dramatic granite spires, deep glacial valleys, windswept ridges, and the stunning terrain surrounding the Southern Patagonian Ice Field. Built with high-resolution elevation data, this 3D model is ideal for trekkers, climbers, map lovers, and 3D printing enthusiasts who want to visualize or commemorate one of the world’s most legendary wilderness routes.
- Real-world elevation data converted to printable terrain
- Based on the National Elevation Dataset (NED) – USGS (more info here)
- Highly detailed and scalable to fit most printer sizes
- Optimized for printing in PLA
- Great for gifts, school projects, map collections, or geospatial art
Recommended Print Settings
- Layer Height: 0.1 – 0.2 mm for fine detail
- Infill: 5–15% depending on weight preference
- Supports: Not required for most terrain models
- Shells/Perimeters: 2–3 for strength and quality
- Bed Adhesion: Use a brim if print tends to warp
- Material: PLA
- Print Speed: 40–60 mm/s for best surface finish
3D Printing Terrain: Tips for Best Results
3D printing terrain models brings digital elevation data into the physical world with high accuracy and impressive detail. When printing topographic maps, it’s important to use precise settings that retain the intricate features of the landscape.
- Choose the right material: PLA is ideal for 3D printing terrain due to its ease of use, stable printing properties, and smooth finish. It’s perfect for models with fine details, like mountain ridges and valleys.
- Layer Height and Detail: To preserve the subtle variations in topography, use a fine layer height (0.1–0.2 mm). This ensures that elevation changes are sharp and distinct, maintaining a realistic look.
- Infill and Strength: A low infill percentage (5-15%) is recommended for terrain models to keep the structure lightweight. Consider increasing the infill if you plan to display the model in public or handle it frequently.
- Scaling and Printing Orientation: Experiment with scaling the Z-axis to exaggerate the terrain features. This technique can help bring out the dramatic nature of the topography, especially on large-scale models.
- Post-Processing: After printing, sand and paint the model for a realistic, natural appearance. Consider using earthy tones or dry brushing techniques to highlight ridges, valleys, and plateaus.
- Decrease Print Time: To drastically decrease overall print time, print 3D topographic models without a bottom layer. If desired, you can then glue the 3D print to a backer board of your choice.
By following these tips for 3D terrain printing, you’ll achieve a stunning and durable topographic model that captures the essence of any landscape. Whether you’re printing a local park, mountain range, or famous landmark like the Grand Canyon, attention to detail and good print settings will result in a standout 3D printed map.


Reviews
There are no reviews yet.